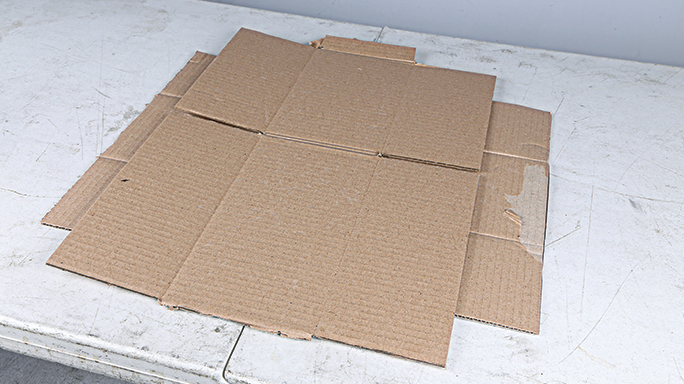
1. Work Surface: Set up your workspace in a well-ventilated area. This is a messy endeavor, so we do not recommend doing it anywhere that can’t stand to be potentially permanently modified. In other words, this is more of a garage or backyard job than one for the dining table. Cover your working surface with layers of your choice of protective covering. We prefer cardboard, but sheets of plastic or multiple layers of newspaper work just as well. Don’t skimp on the covering, because silicon carbide dust or epoxy can leak through, and you don’t want any of it on your work surface (don’t ask how we know this).
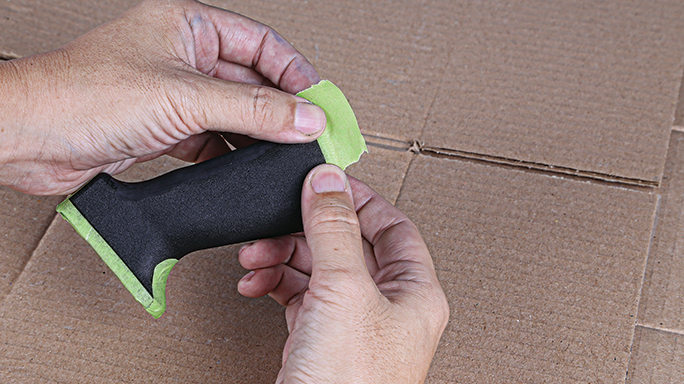
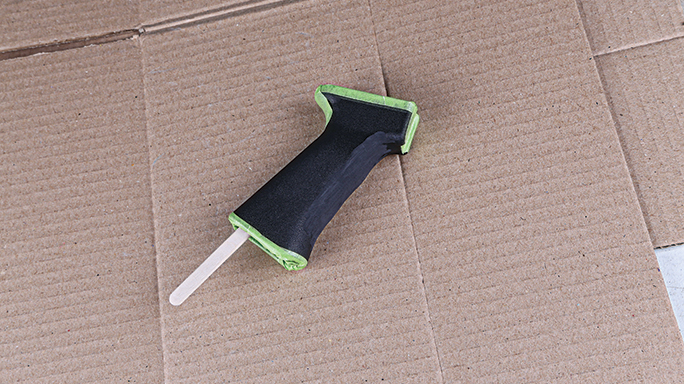
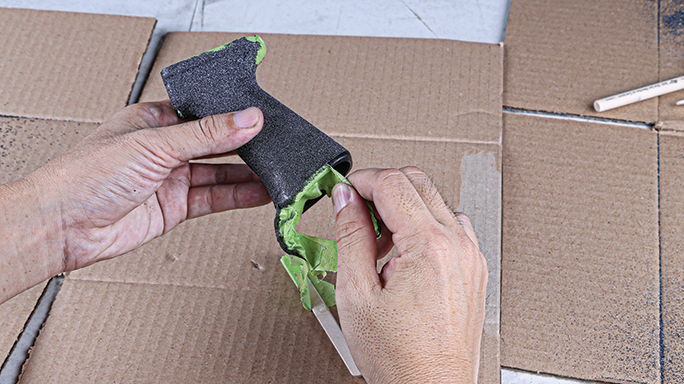
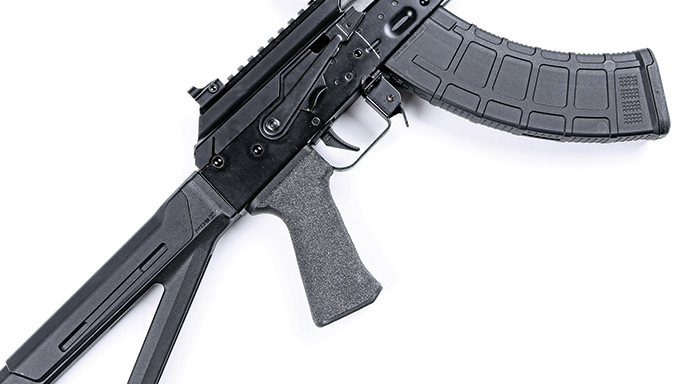
2. Prepping: First, determine exactly where you want to apply the extra traction. Clean the item so it is free of oil, dirt and debris, and carefully mask off all areas that you do not want coated. We masked off the top and bottom edges of the AK pistol grip to give it clean lines along with parts where we don’t want the extra texture. We also securely taped a stick to the inside of the grip to control it more effectively when working with it.
2. Prepping: First, determine exactly where you want to apply the extra traction. Clean the item so it is free of oil, dirt and debris, and carefully mask off all areas that you do not want coated. We masked off the top and bottom edges of the AK pistol grip to give it clean lines along with parts where we don’t want the extra texture. We also securely taped a stick to the inside of the grip to control it more effectively when working with it.
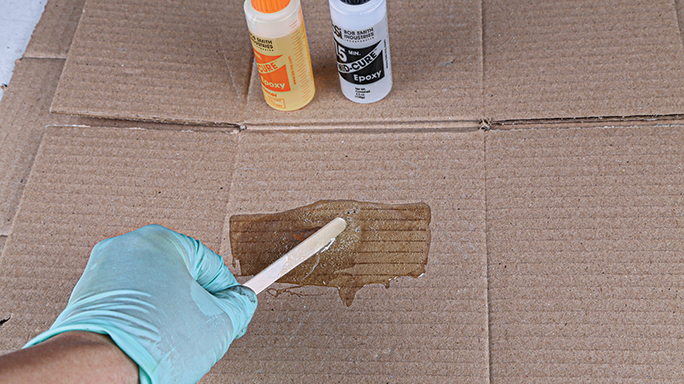
3. Mixing: We used a 15-minute epoxy to give us extra time to work. Make sure that you follow the instructions for proper mixing. Be sure to mix a little more than you think you need so you won’t run out during application.
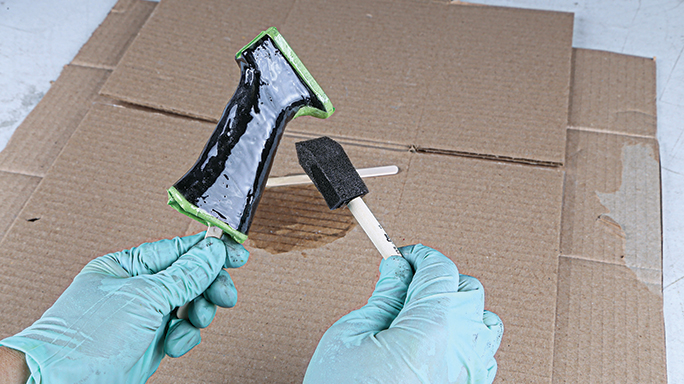
4. Application: Because epoxy is permanent, we used a cheap foam brush for application. Apply the epoxy evenly on all surfaces you wish to coat. Remember, you’re now working against the clock, so work fast, but don’t get careless. Be sure to coat all the areas, and give your piece a thorough 360-degree inspection.
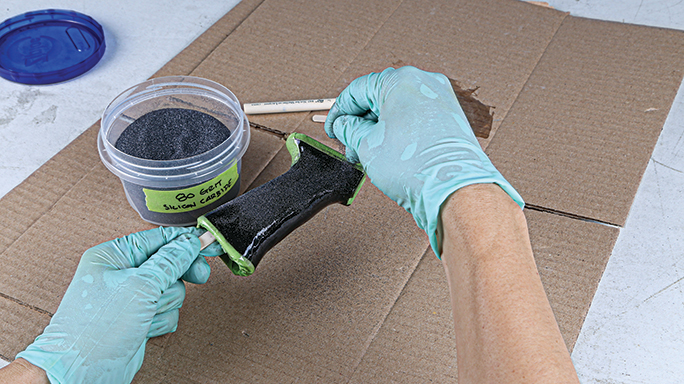
5. Coating: After you are satisfied with your layer of epoxy, sprinkle the silicon carbide powder over your part. Be sure to keep turning and sprinkling to create complete and even coverage. Work quickly to apply the silicon carbide before the epoxy begins to set.
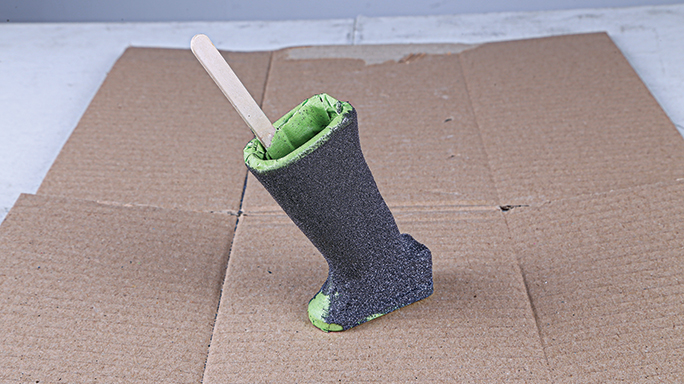
6. Allow To Set: When you’re sure you didn’t miss a spot and every surface looks evenly coated, carefully set the part where no coated surfaces are touching anything. According to the epoxy’s instructions, it can be handled in about 45 minutes and will dry fully in three hours.
7. Clean Up: Time’s up! Let’s see how it turned out. Brush the grip very lightly to remove all the excess powder before you slowly and carefully remove the masking tape and inspect the coating.
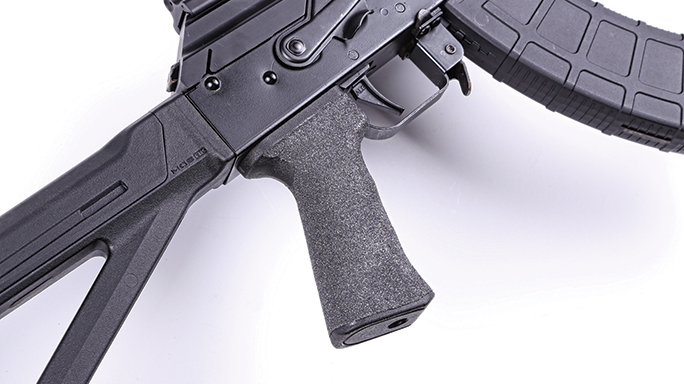
8. Final Install: After the epoxy is fully dry, install the grip into the rifle. The extra grip that the silicon carbide provides will be most welcome. And you can’t complain about the looks, either.
Silicon carbide, like sandpaper, comes in varying grits. The smaller the number, the coarser the grit. Here is a chart of the grits we sampled. The 36 grit is pretty rough and is probably as coarse as you’d want to go. The opposite end of the spectrum is a hybrid of 120/220, which is very fine, similar to sugar. We ended up using 80 grit for the AK grip shown in this article. Not sure which grit to go with? We suggest buying several to try out.
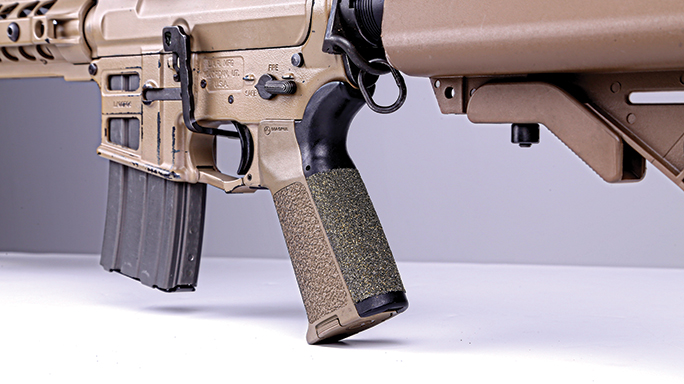
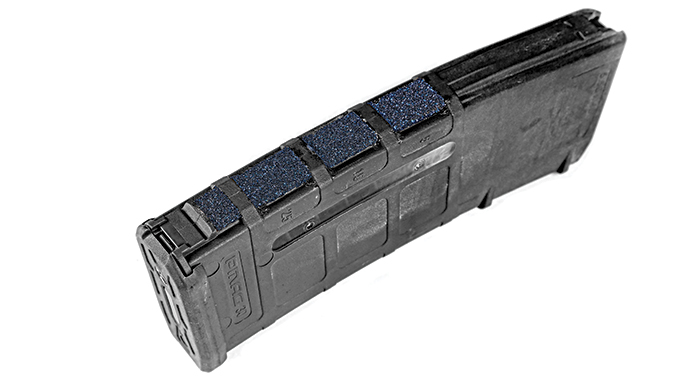
If you’re looking to add some personality to your gear, try mixing some fine or extra-fine glitter into your silicon carbide powder. A touch of glitter can add a color sheen to the coating that would enhance your kit. We added some blue glitter for the coating on the spine of the magazine and some gold on the backstrap of the grip shown on the rifle.
We have a few pieces that we coated a few months back that are still holding up very well. You might lose a little silicon carbide here and there, but overall, the coatings will last a long time even with consistent use. And if some does wear off eventually, you can just coat it again. So if you’re looking for a weekend project as well as extra grip on some of your gear, why not try a coat of silicon carbide? If you do, we’d love to see it. Share your own DIY project with us on our Facebook page:
facebook.com/ballisticmagazine
For many shooters, the search for the perfect amount of traction on their firearm controls is a lifelong quest. Between the many add-on grip accessories and pre-cut grip tape assortments available on the market, it’s hard to select the perfect one. Sometimes you don’t even have a choice, since your particular firearm or accessory may not have any prefabricated options. So what do you do then?
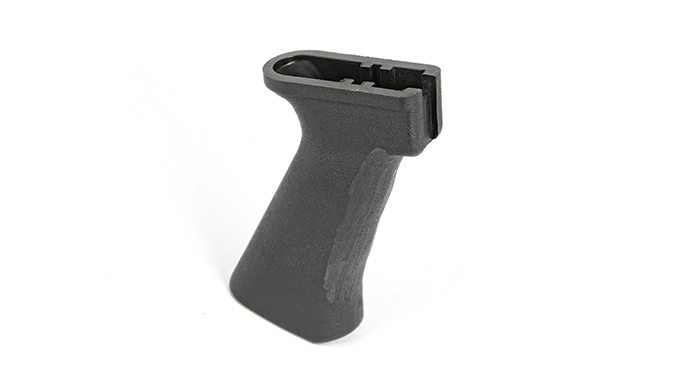
Take one of our latest project rifles, for example. We’ve been fiddling with an AKM lately and came across a Molot-style AK grip that we liked, but yearned for more bite on its smooth surface. We could have simply stippled it, but we didn’t want the pockmarked look and feel that stippling produces. Plus, as an amateur stippler, it can be hard to control just how aggressively you modify the grip.
Setup
Advertisement — Continue Reading Below
The AK grip also features a couple of finger grooves that we wish it didn’t, so we sanded them down until they were flat. But now the sanded surface was an eyesore. We could have tried some skateboard grip tape, but that has a tendency to peel up on its edges, and it’s hard to cut to fit the exact shape of the grip. We knew there must be another way, and we found it with silicon carbide coating.
Popular with competition shooters and high-end gunsmiths, this visually stunning coating can be used on everything from grips to pistol frames, and it gives just the right amount of grip in the areas where you need it most. It looks and feels similar to grip tape, but the coating is seamless, not as thick and, best of all, extremely durable.
How is this coating able to perform such dark magic? Well, you made a good choice by picking up this magazine, as we’re about to let you in on their secret. Some of the more popular gunsmiths are known to charge fees that eclipse the triple digits for a silicon carbide coating service. We’ll show you how to do it for under 10 bucks American.
Advertisement — Continue Reading Below
Before we get into the how-to portion of this article, we should explain what silicon carbide is exactly. Well, it’s the coarse grit that you feel on the surface of skateboard grip tape and sandpaper. It’s a very useful material that can be used on everything from cutting tools to electronic circuits. In our case, we’ll be using it in its powdered form. Think of it as sandpaper minus the paper.
There are many benefits of silicon carbide coating, including a large selection of available silicon carbide grits to fine-tune the perfect grip you’ve always wanted. This method also masks imperfections, such as the marks left over from our removal of the AK grip’s finger grooves or even the scars from an amateur-hour botched Glock grip-reduction job (no longer will you need to hide that frame in shame!). But that’s enough theory.
Scroll through the gallery above for the “how” of this how-to process, along with some helpful tips we learned along the way.