
So, you just picked up a digital camera—maybe it’s your first DSLR, a high-quality compact, or even a mirrorless model. You’re excited, but after flipping through the manual and scrolling through the settings, you realize… you have no idea what half of this stuff means. Aperture, ISO, shutter speed, white balance—it can feel overwhelming.
But don’t worry. This guide will break down everything you need to know to start taking great photos with confidence. We’ll cover camera types, essential settings, lenses, lighting, and even common beginner mistakes so that you can maximize your gear without frustration.
Understanding Digital Camera Types
Before diving into technical details, let’s break down the most common types of digital cameras:
DSLRs (Digital Single-Lens Reflex) – These cameras have a mirror inside, allowing you to see directly through the lens. They offer interchangeable lenses, manual control, and superior image quality, making them a favorite among enthusiasts and professionals.
Mirrorless Cameras: Similar to DSLRs but without the mirror, mirrorless cameras are typically smaller and lighter while still delivering fantastic image quality. Many modern models have advanced autofocus and high-speed shooting capabilities.
Compact Cameras (Point-and-Shoot) – These are simple, portable, and often come with fixed lenses, meaning you can’t swap them out. They’re great for travel and casual photography but may lack the flexibility of DSLRs and mirrorless cameras.
Bridge Cameras – A middle ground between compacts and DSLRs, offering manual controls, large zoom ranges, and decent sensors in an all-in-one package.
Action Cameras: Small, rugged, and designed for adventure and sports, these cameras (like the GoPro) are built to withstand harsh conditions while recording high-quality video.
Crop Sensor vs. Full Frame:
One of the biggest decisions when choosing a camera is sensor size. Here’s how it impacts your photos:
Full-Frame Sensors: Larger sensors capture more light, offer better low-light performance, and provide a shallower depth of field (more background blur). These are commonly found in high-end DSLRs and mirrorless cameras.
APS-C Sensors (Crop Sensors): These are smaller than full-frame sensors and apply a “crop factor” to images. While slightly limiting the field of view, they are more affordable, lightweight, and still deliver fantastic quality.
Micro Four Thirds (MFT) Sensors: Even smaller than APS-C, MFT sensors offer compact camera bodies and lenses, making them a great option for travelers and video shooters.
Which is better? It depends on your needs. Full-frame is ideal for professionals and low-light situations, while APS-C and MFT are lighter, more budget-friendly, and perfectly fine for most users.
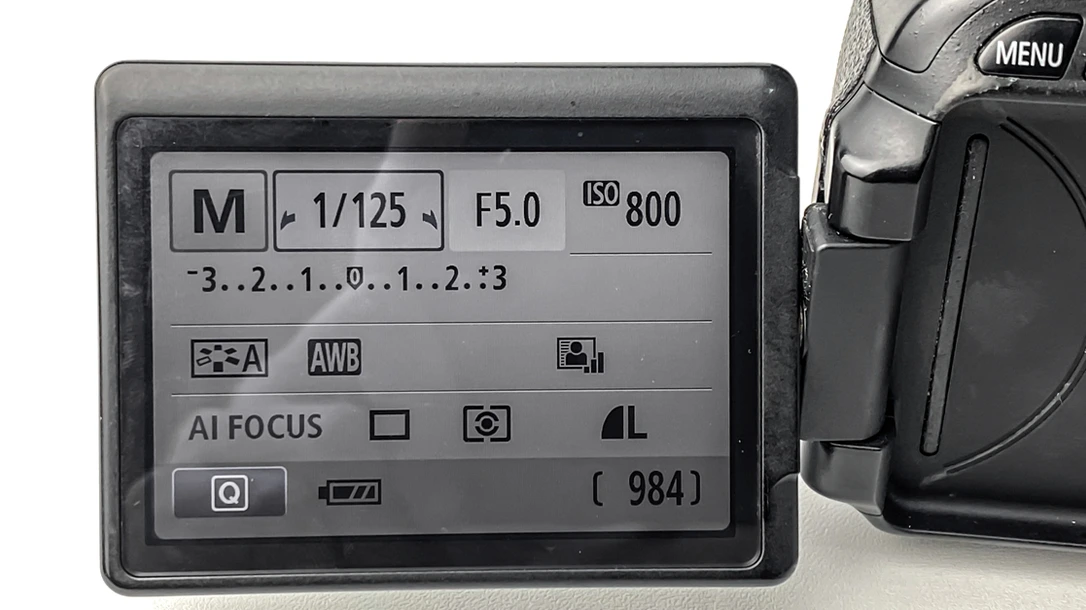
The Exposure Triangle:
Every great photo depends on balancing three core settings:
1. Aperture (f-stop) – Controls how much light enters the camera. A lower f-stop (e.g., f/2.8) creates a blurry background (shallow depth of field), while a higher f-stop (e.g., f/11) keeps more of the image in focus.
2. Shutter Speed – Determines how long the shutter stays open. Faster speeds (1/1000s) freeze motion, while slower speeds (1/30s) allow more light in but can cause blur if the camera moves.
3. ISO – Adjusts the camera’s sensitivity to light. A low ISO (100-200) keeps images clean, while a high ISO (3200+) helps in low-light situations but can introduce noise.
Mastering this “Exposure Triangle” is key to taking control of your photos and getting the desired outcome you’re looking for.
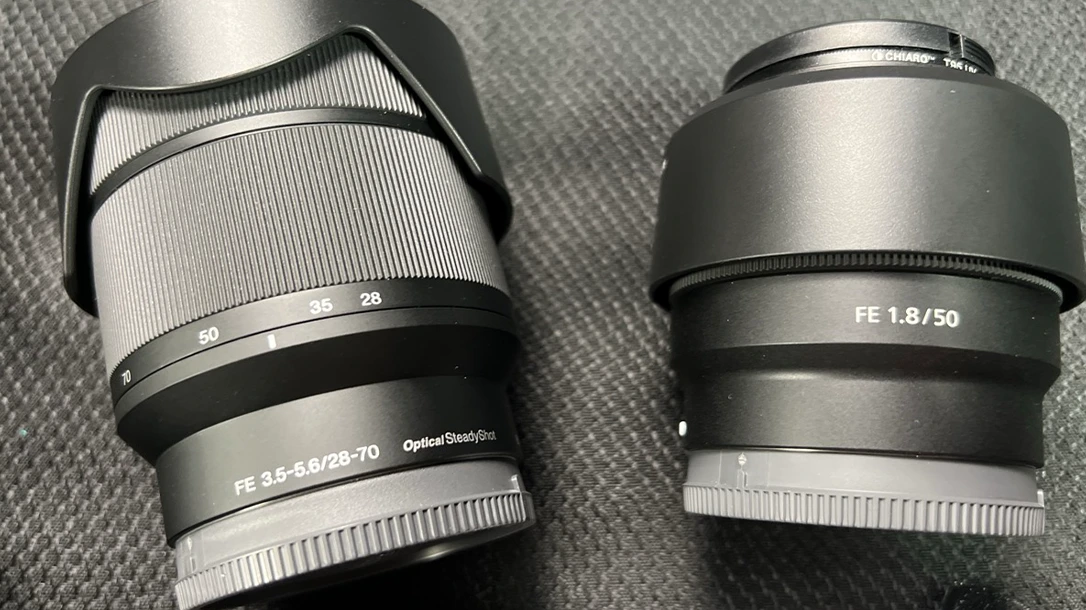
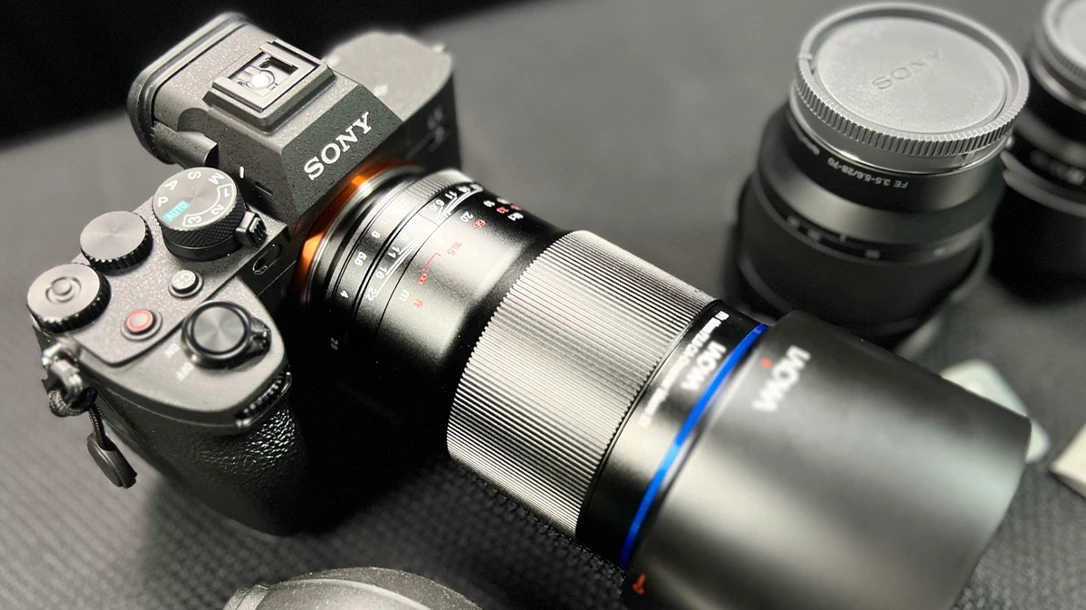
Choosing the Right Lens
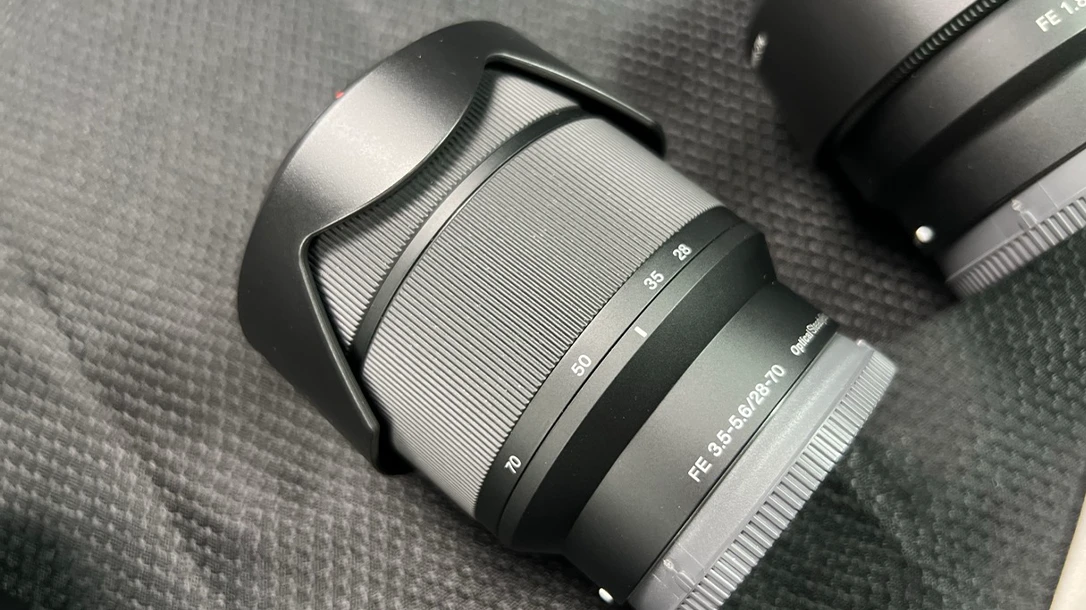
Lenses are just as important as the camera itself, and choosing the right one can make a significant difference in your photography. For portrait photography, a 50mm f/1.8 (often called the “Nifty Fifty”) or an 85mm f/1.4 provides a beautiful background blur and a natural perspective. Landscape photographers benefit from a wide-angle lens, such as a 16-35mm f/4, which captures more of the scene while maintaining deep focus.
If you’re shooting sports or wildlife, a telephoto lens like 70-200mm or 300mm helps bring distant subjects closer. For everyday use, a 24-70mm f/2.8 serves as a versatile walkaround lens, allowing you to capture both wide shots and zoomed-in details. If you’re unsure where to start, a 50mm f/1.8 prime lens is one of the best all-around options for beginners—it’s sharp, affordable, and excellent for low-light shooting.
It Matters More Than Your Digital Camera: Lighting
Lighting is the most important factor in photography—no camera can compensate for poor lighting. Opt for soft, diffused lighting from shaded areas or overcast days to create flattering results when working with natural light. The harsh midday sun can be used for dramatic shadows but often leads to unflattering highlights.
For artificial lighting indoors or in a studio, matching your light source’s color temperature prevents unnatural color casts. A simple ring light or softbox can dramatically improve image quality. It’s not necessary to spend big bucks just make sure the light is all the same temperature and soft. When using flash, built-in camera flashes tend to be harsh, so an external flash with bounce techniques—angling the flash off ceilings or walls—creates softer, more natural-looking light.
Stability is also key to sharp images, especially in low-light conditions. A tripod is essential for long exposures, night photography, and precision shooting, helping to eliminate camera shake. Pairing it with a remote shutter release or your camera’s self-timer further reduces vibrations, allowing for ultra-sharp images—particularly useful for astrophotography, landscapes, and portraits.
How to Make Your Shots Visually Compelling
Whether you’re shooting photos or videos, composition plays a huge role in making your images look professional and engaging. Here are three fundamental principles to keep in mind when framing your shots:
1. Rule of Thirds:
The Rule of Thirds divides your frame into a 3×3 grid, creating nine equal sections. The idea is to place your subject at the intersections of these lines rather than in the center.
Why it works: This technique naturally draws the viewer’s eye to the subject, creating a balanced and aesthetically pleasing image.
How to use it: Most cameras (and even smartphones) have a grid overlay to help you align your subject correctly.
2. Leading Lines:
Leading lines are natural or artificial lines that direct the viewer’s gaze toward the subject. They add depth and create a sense of movement in your composition.
Examples: Roads, fences, staircases, rivers, or even light and shadows can act as leading lines.
How to use them: Position your subject where the lines converge to make them the focal point of the image.
3. Depth:
Depth makes your shots feel more lifelike by adding layers to your composition. The key is to include foreground, midground, and background elements in your frame.
Why it works: It gives your image a sense of space and dimension, making it more immersive.
How to use it: Try framing your subject with foreground elements (like leaves, doorways, or objects) while keeping the background in focus.
By mastering these composition techniques, you’ll immediately notice an improvement in the quality and impact of your photos and videos—even before adjusting any camera settings!
Common Beginner Mistakes (and How to Fix Em’)
Every new photographer makes mistakes, but awareness is the first step toward improvement. Here are some of the biggest pitfalls to avoid with digital cameras:
1. Shooting Everything in Auto Mode – Learn to use Aperture Priority (A), Shutter Priority (S), or Manual (M) mode to take creative control.
2. Ignoring White Balance – Different light sources change how colors appear in photos. Use the right white balance setting (e.g., “Daylight,”
“Tungsten”) or adjust it in post-processing.
3. Using the Wrong Focus Mode – For portraits, use Single-Point AF to focus on the subject’s eye. For action shots, use Continuous AF to track movement.
4. Not Keeping the Camera Steady – If you don’t have a tripod, use a stable surface or brace your elbows to reduce blur from camera shake.
5. Forgetting Composition Basics – Use the Rule of Thirds, leading lines, and framing techniques to make your images more dynamic.
A Crash Course on Video with your New Digital Camera
Still, photography and videography share many fundamentals, but video introduces new challenges and techniques that can make or break your final product. If you’re using your camera for video, here’s a quick crash course to get started.
Frame Rate & Shutter Speed: The 180-Degree Rule
24 FPS (Frames Per Second) – The “cinematic” standard for a natural motion blur.
30 FPS – Great for general-use video, common for YouTube and social media.
60 FPS+ – Used for slow-motion footage.
To maintain a smooth and natural look, use the 180-degree rule: Your shutter speed should be double your frame rate.
If you’re shooting at 24 FPS, set your shutter speed to 1/50s.
If you’re shooting at 30 FPS, use 1/60s.
Resolution & Bitrate:
Most modern cameras shoot in 1080p (Full HD) or 4K. Higher resolutions provide more detail, but 4K also demands more storage and editing power. If you’re shooting for casual content, 1080p at a high bitrate is still an excellent choice.
Avoiding Shaky Footage
Use in-body stabilization (IBIS) or optical stabilization (OIS) lens for smoother shots.
For handheld shooting, keep your elbows tucked in or use a gimbal for steady footage.
If filming stationary shots, a tripod is your best friend. (For clean pans, use a rubber band on the tripod handle.)
Lighting for Video
Unlike photography, video requires continuous lighting, making flashes ineffective. Natural light is ideal for interviews and vlogging, providing a soft and flattering look. For controlled environments, compact and adjustable LED panels offer precise illumination. Ring lights are a great option for evenly lighting faces in close-up shots, making them popular for beauty, tutorial, and livestream content.
Audio is 50% of your video.
Poor audio can ruin a great video; a camera’s built-in microphone will never produce professional sound. Investing in an external mic significantly improves audio clarity. A Lavalier or clip-on wireless mic is small and discreet, making it perfect for interviews, YouTube content, and vlogging.
A shotgun mic, which mounts in the camera’s flash shoe, is highly directional. It reduces background noise and captures clearer dialogue from your subject. Brands like RØDE, DJI, Deity, and Sennheiser offer high-quality wired and wireless microphones that can dramatically enhance video production.
Final Video Tips
White Balance is Crucial – Set it manually to match your lighting for natural colors.
Use ND Filters for Outdoor Shooting—Neutral-density filters cut down light, allowing you to use cinematic settings (shallow depth of field, correct shutter speed) in bright conditions.
Mind Your Composition: Use leading lines, the Rule of Thirds, and depth to engage your shots visually.
The Journey to Better Photography
Photography is a skill that improves with time and practice. Understanding your camera, experimenting with settings, and learning from your mistakes will take you further than any expensive gear upgrade.
So, next time you pick up your digital camera, take a moment to think about lighting, composition, and settings—not just pressing the shutter. The best way to improve? Shoot often, review your work, and keep refining your technique.
With the right knowledge and practice, you’ll soon be confidently capturing stunning photos.
The journey to mastering photography doesn’t end with just understanding your digital camera—it’s about continuous experimentation and refinement. Try different settings and lenses to see how they impact your images, and take notes on what works best in various scenarios.
Thoughtful editing can enhance your shots, but over-processing can diminish their natural appeal. Most importantly, enjoy the process. The best photographers are those who remain curious, constantly learning and refining their craft.
Get out and start shooting!


